 I’m really tired of trying to get OTA updates for my Samsung Devices with Vodacom dragging their feet and not delivering the much anticipated update. So here is what I did if you would like to cut-out the middleman. I always use sammobile to get information on the latest updates rolling out from Samsung for their devices.
Please note that this guide is the steps I followed to achieve my results.
Following this guide is done on your own risk and I do not take any responsibility for damages/data loss that might occur with your software and hardware or any other damages that might result from following this guide.
This guide does not show or explain how to do backups, any loss of data that might occur will be of your own accord. ALWAYS BACUP!
Updating my S3:
-
Download the latest firmware
-
Download Odin (the software we will use to flush the firmware)
-
Extract the zipped firmware and Odin to a folder
- You should have a file that ends with “.tar.md5”
-
And a folder “Odin3….”

-
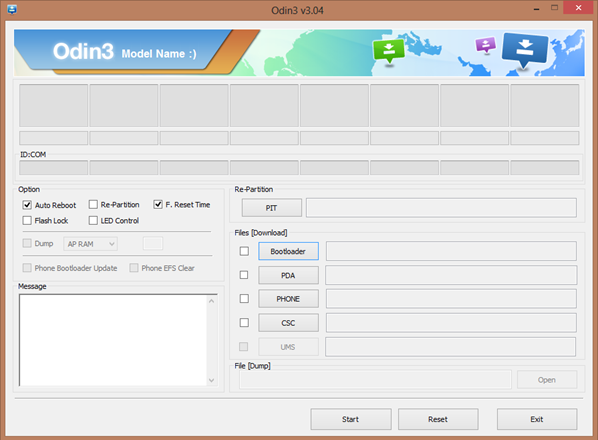
Start Odin with Administrator Rights
- Switch off your Samsung I9300 (S3)
-
Hold the Volume Down button + Hold the Home Button + Hold the Power Button
- Hold the phone in my left hand with my thumb on the “Volume Down button”
- Right hand thumb on the “Menu button”
- Right hand index finger on the “Power button”
-
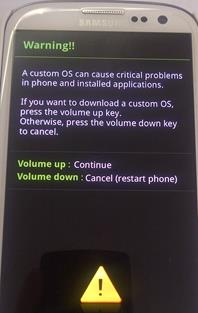
You will get a warning message and will need to press the “Volume Up Button” to continue
-
Once the phone is ready to update plug the USB cable in to the computer and in to the phone
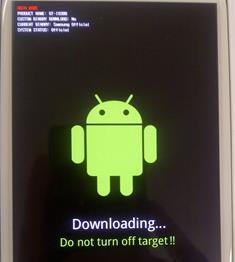
- Wait for the computer to finish installing all the required drivers before you continue
-
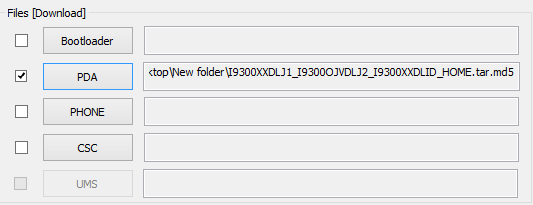
Once Odin is ready, click on PDA and select the firmware file that was downloaded and extracted
- Click on the “Start” button to start the flushing process (might take a few minutes)
- Once the flushing process is complete your phone will restart and boot into the new Firmware
-
You will notice application optimization taking place after which your Lock Screen should appear

- If everything went smoothly you should still have all your data and applications and settings
-
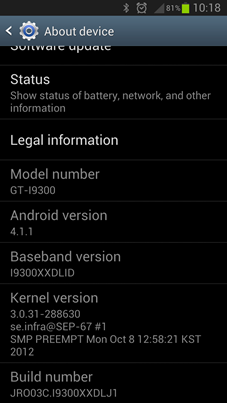
Head over to Settings >> About Device >> Android version = 4.1.1
[DFS link=”https://www.dropbox.com/sh/x7w3bngc3t07pud/nEnDpEn2zT/SkyDrive/Samsung” ver_como=’icons’]
